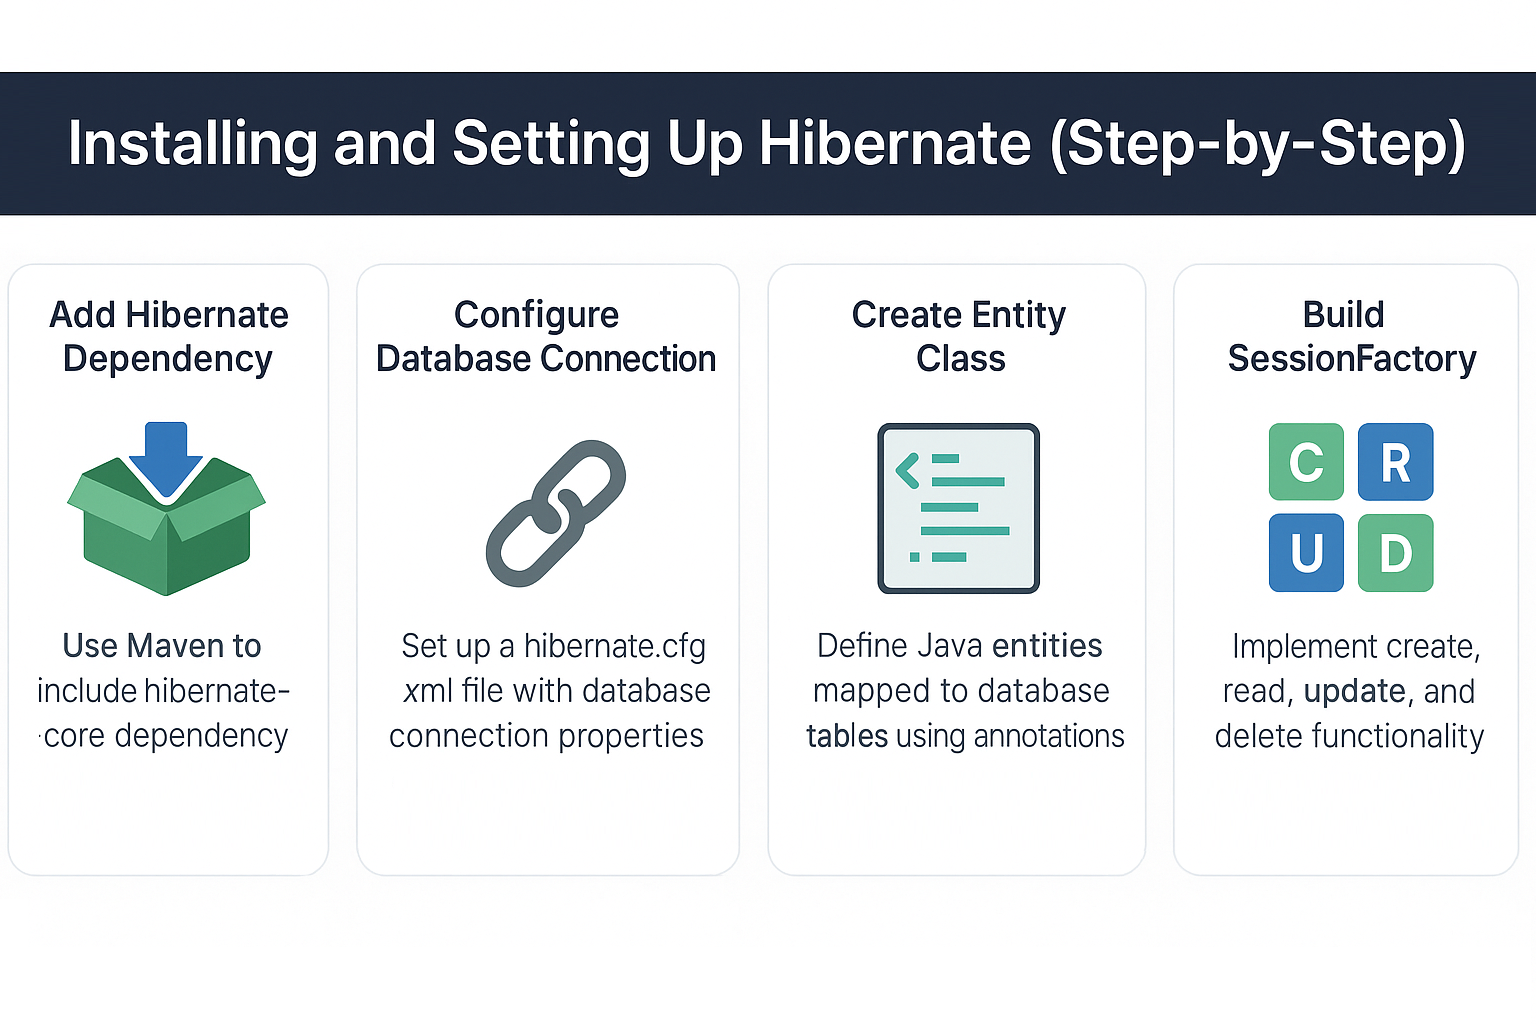
When working with databases in Java, developers often struggle with repetitive JDBC boilerplate code and SQL statements. Hibernate, a powerful Object-Relational Mapping (ORM) framework, eliminates much of this burden by allowing you to work with Java objects instead of raw SQL.
In this tutorial, we’ll walk through the step-by-step process of installing and setting up Hibernate, from adding dependencies to writing your first CRUD operations. Whether you’re a beginner setting up Hibernate for the first time or an advanced developer refreshing your knowledge, this guide covers everything you need.
Step 1: Add Hibernate Dependency
The easiest way to include Hibernate is with Maven.
Maven Dependency
<dependency>
    <groupId>org.hibernate.orm</groupId>
    <artifactId>hibernate-core</artifactId>
    <version>6.4.1.Final</version>
</dependency>
If you use Gradle, add:
implementation 'org.hibernate.orm:hibernate-core:6.4.1.Final'
Step 2: Configure Database Connection
Hibernate requires a configuration file to connect to your database.
hibernate.cfg.xml
<hibernate-configuration>
  <session-factory>
    <property name="hibernate.connection.driver_class">com.mysql.cj.jdbc.Driver</property>
    <property name="hibernate.connection.url">jdbc:mysql://localhost:3306/testdb</property>
    <property name="hibernate.connection.username">root</property>
    <property name="hibernate.connection.password">root</property>
    <property name="hibernate.dialect">org.hibernate.dialect.MySQL8Dialect</property>
    <property name="hibernate.hbm2ddl.auto">update</property>
    <property name="hibernate.show_sql">true</property>
  </session-factory>
</hibernate-configuration>
Key property:
hibernate.hbm2ddl.auto=update→ auto creates/updates tables based on entity mappings.
Step 3: Create Entity Class
Entities map Java objects to database tables.
import jakarta.persistence.*;

@Entity
@Table(name = "students")
public class Student {
    @Id
    @GeneratedValue(strategy = GenerationType.IDENTITY)
    private Long id;

    @Column(name = "student_name", nullable = false)
    private String name;

    public Student() {}

    public Student(String name) {
        this.name = name;
    }

    // Getters and setters
}
Common Annotations
@Entity→ Declares class as an entity.@Table→ Maps to DB table.@Id→ Primary key.@GeneratedValue→ Auto ID generation.
Step 4: Build SessionFactory
SessionFactory is the core of Hibernate.
import org.hibernate.SessionFactory;
import org.hibernate.cfg.Configuration;

public class HibernateUtil {
    private static final SessionFactory sessionFactory;

    static {
        try {
            sessionFactory = new Configuration()
                    .configure("hibernate.cfg.xml")
                    .addAnnotatedClass(Student.class)
                    .buildSessionFactory();
        } catch (Throwable ex) {
            throw new ExceptionInInitializerError(ex);
        }
    }

    public static SessionFactory getSessionFactory() {
        return sessionFactory;
    }
}
Step 5: Perform CRUD Operations
Create (Insert)
Session session = HibernateUtil.getSessionFactory().openSession();
Transaction tx = session.beginTransaction();

Student student = new Student("Alice");
session.persist(student);

tx.commit();
session.close();
Read (Select)
Session session = HibernateUtil.getSessionFactory().openSession();
Student student = session.get(Student.class, 1L);
System.out.println(student.getName());
session.close();
Update
Session session = HibernateUtil.getSessionFactory().openSession();
Transaction tx = session.beginTransaction();

Student student = session.get(Student.class, 1L);
student.setName("Updated Alice");
session.update(student);

tx.commit();
session.close();
Delete
Session session = HibernateUtil.getSessionFactory().openSession();
Transaction tx = session.beginTransaction();

Student student = session.get(Student.class, 1L);
session.remove(student);

tx.commit();
session.close();
Step 6: Querying with Hibernate
HQL (Hibernate Query Language)
List<Student> students = session.createQuery("FROM Student WHERE name = :name", Student.class)
        .setParameter("name", "Alice")
        .list();
Criteria API
CriteriaBuilder cb = session.getCriteriaBuilder();
CriteriaQuery<Student> cq = cb.createQuery(Student.class);
Root<Student> root = cq.from(Student.class);
cq.select(root).where(cb.equal(root.get("name"), "Alice"));
List<Student> students = session.createQuery(cq).getResultList();
Native SQL
List<Object[]> results = session.createNativeQuery("SELECT * FROM students").list();
Step 7: Enable Caching and Fetching Strategies
- Lazy Loading (default) → Fetch data only when needed (like ordering food when hungry).
- Eager Loading → Fetch everything immediately (like ordering all dishes at once).
- First-Level Cache → Session-specific, enabled by default.
- Second-Level Cache → Application-wide, using EHCache or Infinispan.
Step 8: Real-World Integration (Spring Boot)
Spring Boot simplifies Hibernate setup.
spring.datasource.url=jdbc:mysql://localhost:3306/testdb
spring.datasource.username=root
spring.datasource.password=root
spring.jpa.hibernate.ddl-auto=update
spring.jpa.show-sql=true
Repository:
public interface StudentRepository extends JpaRepository<Student, Long> {}
Common Pitfalls
- N+1 Select Problem → Too many queries, fix with
JOIN FETCH. - Cascade Misuse → Wrong cascade config can delete unintended data.
- Overusing Eager Fetching → Performance degradation.
Best Practices
- Use lazy fetching by default.
- Use DTOs for API responses.
- Profile queries with Hibernate statistics.
- Tune batch fetching and caching for performance.
📌 Hibernate Version Notes
Hibernate 5.x
- Uses
javax.persistence. - Legacy configuration style.
- Older Criteria API.
Hibernate 6.x
- Migrated to
jakarta.persistence. - Enhanced SQL and query API.
- Modern bootstrapping support.
Conclusion and Key Takeaways
- Hibernate setup requires dependency, configuration, entities, and
SessionFactory. - CRUD operations are streamlined with Hibernate Sessions.
- Queries can be written using HQL, Criteria API, or native SQL.
- Proper fetching and caching improve performance.
- Hibernate integrates smoothly with Spring Boot for enterprise apps.
FAQ: Expert Hibernate Questions
-
What’s the difference between Hibernate and JPA?
JPA is a specification; Hibernate is a popular implementation. -
How does Hibernate caching improve performance?
By reducing repeated database queries through session and second-level cache. -
What are the drawbacks of eager fetching?
Loads unnecessary data, impacting speed and memory. -
How do I solve the N+1 select problem in Hibernate?
UseJOIN FETCHor batch fetching strategies. -
Can I use Hibernate without Spring?
Yes, Hibernate runs standalone with configuration files. -
What’s the best inheritance mapping strategy?
UseJOINEDfor normalization,SINGLE_TABLEfor speed. -
How does Hibernate handle composite keys?
Using@EmbeddedIdor@IdClass. -
How is Hibernate 6 different from Hibernate 5?
Hibernate 6 usesjakarta.persistenceand supports enhanced SQL APIs. -
Is Hibernate good for microservices?
Yes, but lightweight DTOs and stateless design are recommended. -
When should I not use Hibernate?
Avoid in performance-critical analytics or batch-processing apps.
